this is me again, Lazcht, coming with some old article share from my old and abandoned personal blog called Prey Heaven. i stopped to write on that blog, and decided to focus here instead.
when i looked back what's inside that blog, i noticed i have quite good step-by-step articles back then in years, so i decide to bring some of them here, and maybe will blog the new step-by-steps here sometimes later.
i hope i can help people out there by sharing a bit of my drawing technique. mind that im not thinking like.. im so great & famous artist who wants to teach all of u the right way of drawing technique, or something like that XD all my art skill mainly is self-taught, so this section is simply "my way to do drawing".
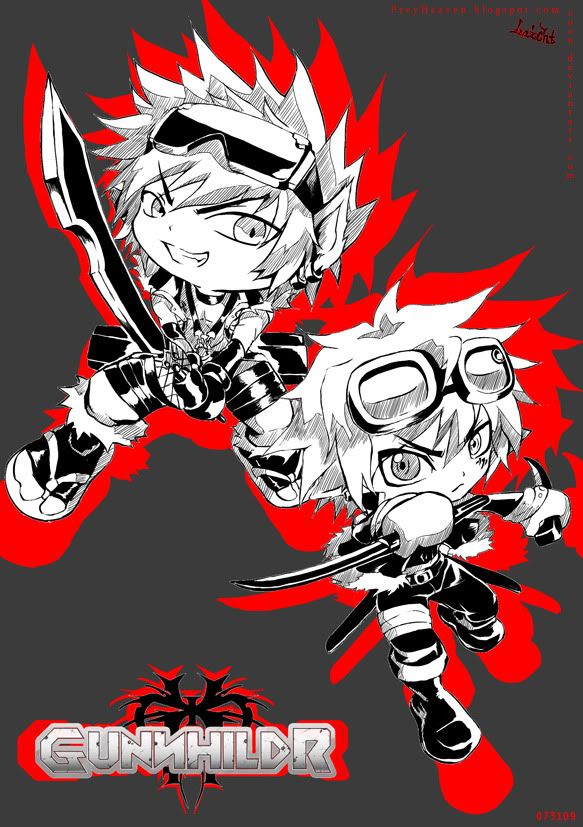
2009's Gunnhildr fanart for mazjojo's doujinshi guest art:
note: just in case to prevent confusion, i made these steps the same time i was progressing the art, so if you find"i will put blah blah next time" that's it.
- just traditional sketch at some random paper, i wanna make them cute but also cool at the same time, practicing action pose on chibi too. pls tell me ur advice, i already asked mazjojo's guidance for the sword's perspective, i'll put my next progress here next time. im planning to ink it digitally, and make it BW artwork.
- oomph sorry loong jumping, i did this when i'm on cousin's house and in the middle of rushing mazjojo's deadline -_-; so i don't even remember to save my progresses before this one. let's see. im using the no 1 sketch just for my inking guide at SAI (great software, u can find the trial here ). why not Photoshop? i found SAI's inking tool more sharp than PS's, so i prefer SAI. hmm as i'm not good at inking, i only can say, neater the sketch, easier the lining, that's for me though. i made each character on different layer. unfortunately i've already fill the black part here.
- hatching/ shading time! i use different layer here, i often fail at neat hatching, coz i usually draw sketchy lines and ended up messed with hatching. first step i draw lines as mark for the shading border so i wont be confused where i should hatch later. and finally it's done.
- final touch? just play around with effects on Photoshop and VOILA! it's done. the logo's not mine btw. hope it helps :)
~Laz out!


